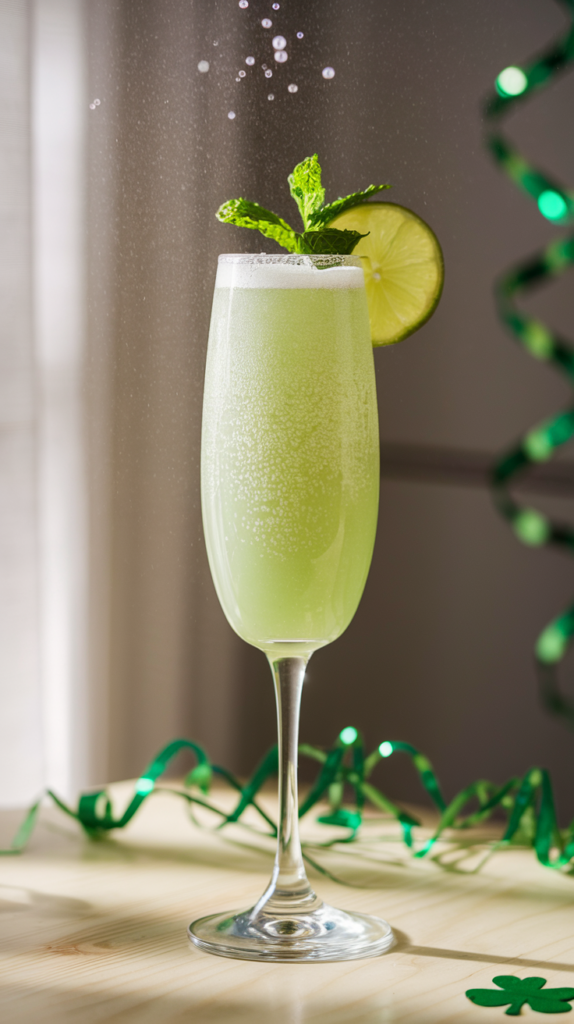
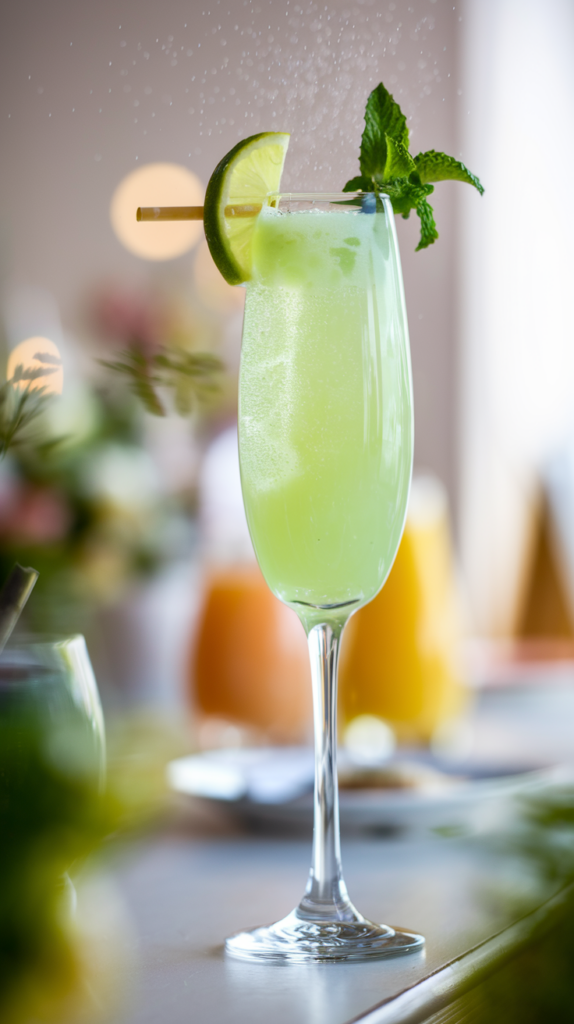
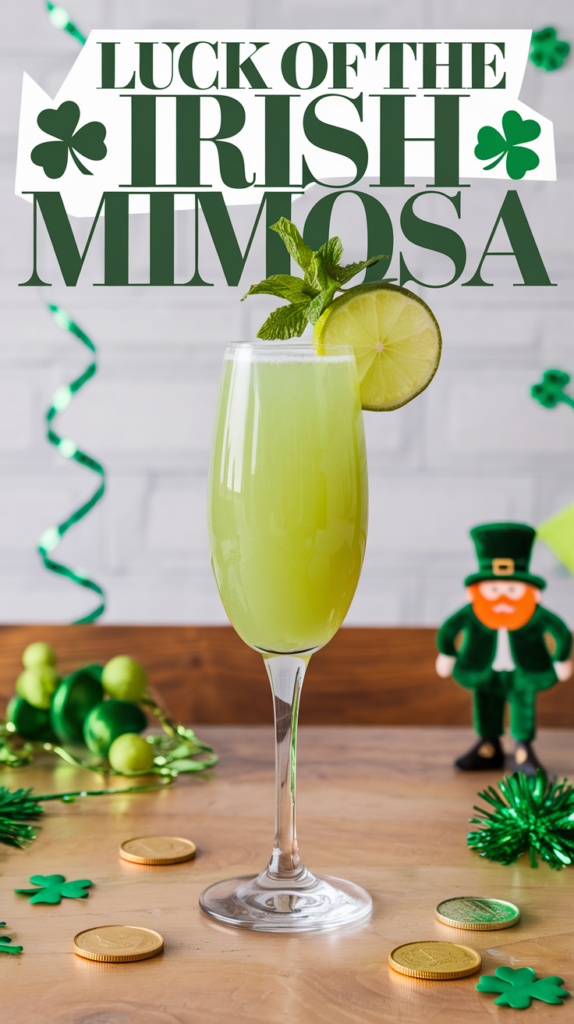
If you’ve ever sipped on a classic mimosa and thought, “This is nice, but what if it was just a little more… fun?” then have I got the drink for you: the Luck of the Irish Mimosa!

Perfect for St. Patrick’s Day, brunch with friends, or just any occasion where you feel like adding a pop of color and a splash of excitement to your drink game, this twist on the traditional mimosa is a crowd-pleaser that’ll have everyone reaching for seconds.
What I love about the Green Mimosa is that it keeps the refreshing, bubbly vibe of the original but adds a zingy, citrusy green punch that’ll make your taste buds do a happy dance.
It’s easy to make, incredibly light, and brings all the brunch party vibes you need. It’s like sipping on sunshine with a touch of Irish luck.
Let’s dive into how you can make this delightful green concoction at home – it’s as fun to make as it is to drink!
In this post, you'll find...
Ingredients for the Green Mimosa
Before you grab your glass and start shaking things up, let’s go over the ingredients you’ll need.
Spoiler alert: it’s super simple! You probably already have most of these in your kitchen, making this the easiest festive drink to whip up:
Ingredients:
- Champagne (or any sparkling wine) – 3 oz
- Orange juice – 2 oz
- Lime juice – ½ oz
- Melon liqueur (like Midori) – ½ oz
- Ice (optional) – 1-2 cubes
- Lime wedge or mint leaves (for garnish) – optional, for that extra touch of pizazz
Ingredient Breakdown
Champagne (or sparkling wine): This is the base of your mimosa, giving it that signature bubbly vibe that makes it feel extra celebratory. You don’t have to go fancy here – any dry sparkling wine or Champagne will do the trick. I love Prosecco for its crisp, slightly fruity flavor.
Orange juice: The classic mimosa ingredient! It gives that lovely citrusy sweetness that balances the dryness of the champagne. I recommend using fresh orange juice for the brightest, most refreshing taste, but store-bought works too if you’re in a pinch.
Lime juice: This is what brings that tangy edge to the drink. It’s like the lime is giving the orange juice a little nudge to wake up and say, “Let’s party!” The acidity cuts through the sweetness and adds a sharp, zesty note that elevates the drink.
Melon liqueur (Midori): Here’s where the green magic happens. The melon liqueur not only adds that stunning color but also gives a sweet, fruit-forward flavor that compliments the citrus perfectly. It’s got a touch of sweetness without being overpowering, and the vibrant green hue? Total showstopper.
Ice (optional): Typically, mimosas are served without ice, but if you’re making this drink a little in advance or just want to keep it chilled for longer, feel free to drop in a couple of cubes.
Garnish: A lime wedge or mint leaves add a finishing touch that gives your Green Mimosa that Instagram-ready look. Plus, a garnish helps enhance the citrusy aroma when you take a sip!
How to Make A Luck of the Irish Mimosa

Now that you’ve gathered your ingredients, it’s time to put everything together.
Here’s the process broken down into easy-to-follow steps, with a few tips along the way to make sure you get the best result:
Step 1: Chilling Your Glass (Optional, But Fancy)
You know that feeling when you get a cold drink in a warm glass? Not ideal. To avoid that sad, lukewarm mimosa situation, pop your glass in the fridge or freezer for a few minutes before you start mixing. This isn’t mandatory, but it does make everything feel a little more luxurious.
Step 2: Combine the Orange Juice, Lime Juice, and Melon Liqueur
Take a shaker or a mixing glass (something with a lid or a way to stir works best). Pour in the orange juice, lime juice, and melon liqueur. Don’t worry about shaking it yet – just give it a little stir to combine everything. The melon liqueur should add a touch of sweetness and that signature green color.
Step 3: Add the Champagne
This is the fun part! After stirring the base ingredients, gently pour the champagne (or sparkling wine) into your glass. Don’t pour too fast or too hard – you don’t want to lose all those bubbles. If you’re using a flute, pour slowly to avoid overflow. The champagne will mix with the citrus base, and you’ll see that gorgeous green tint rise to the top.
Step 4: Stir, But Gently!
Now that your Green Mimosa is assembled, you can give it a gentle swirl or stir. No need to overdo it – you want the bubbles to stay nice and fizzy. Stirring too aggressively can flatten the drink, and nobody wants that. A light swirl is enough to combine everything perfectly.
Step 5: Garnish and Serve
Last step – garnish! Whether you choose a lime wedge, a sprig of fresh mint, or even a thin slice of orange, the garnish is your chance to get creative. Not only does it add a pop of color, but it also makes your mimosa look even more mouthwatering.
Pro Tip: Adjust the Sweetness
If you find the Green Mimosa too sweet or too tangy, feel free to adjust the lime juice or melon liqueur to your taste.
Want it less sweet? Add a little more lime juice. Craving something a bit sweeter? Just up the melon liqueur or orange juice.
This drink is flexible, so don’t be afraid to make it your own.
Luck of the Irish Mimosa Recipe

Luck of the Irish Mimosa
Ingredients
- 3 oz Champagne or any sparkling wine
- 2 oz Orange juice preferably fresh
- ½ oz Lime juice
- ½ oz Melon liqueur e.g., Midori
- Ice optional
- Lime wedge or mint leaves for garnish optional
Instructions
- Chill your glass by placing it in the fridge or freezer for a few minutes (optional).
- In a shaker or mixing glass, combine the orange juice, lime juice, and melon liqueur. Stir gently to mix.
- Slowly pour the champagne into the glass over the juice mixture. Do this slowly to preserve the bubbles.
- Stir gently or swirl to combine – don’t overdo it, or you’ll flatten the bubbles.
- Garnish with a lime wedge or mint leaves for extra flair.
- Serve and enjoy!
Pin this post for later!

Hi, I’m Tiana – founder of and author here at Where Tiana Travels. I’m a 20-something with a love for all things travel, photography, and food. I have been living abroad for the past 5 years and solo traveling the globe in my free time. I created this blog to share my travel stories and inspire other women to go out and see the world. Read more about me here!

