
I remember my first solo trip like it was yesterday.
Backpack slung over my shoulder, guidebook in one hand, and my new camera (a shiny Sony mirrorless camera, thank you very much!) in the other. It was a whirlwind romance between me and the road.
But who was there to capture those memories?
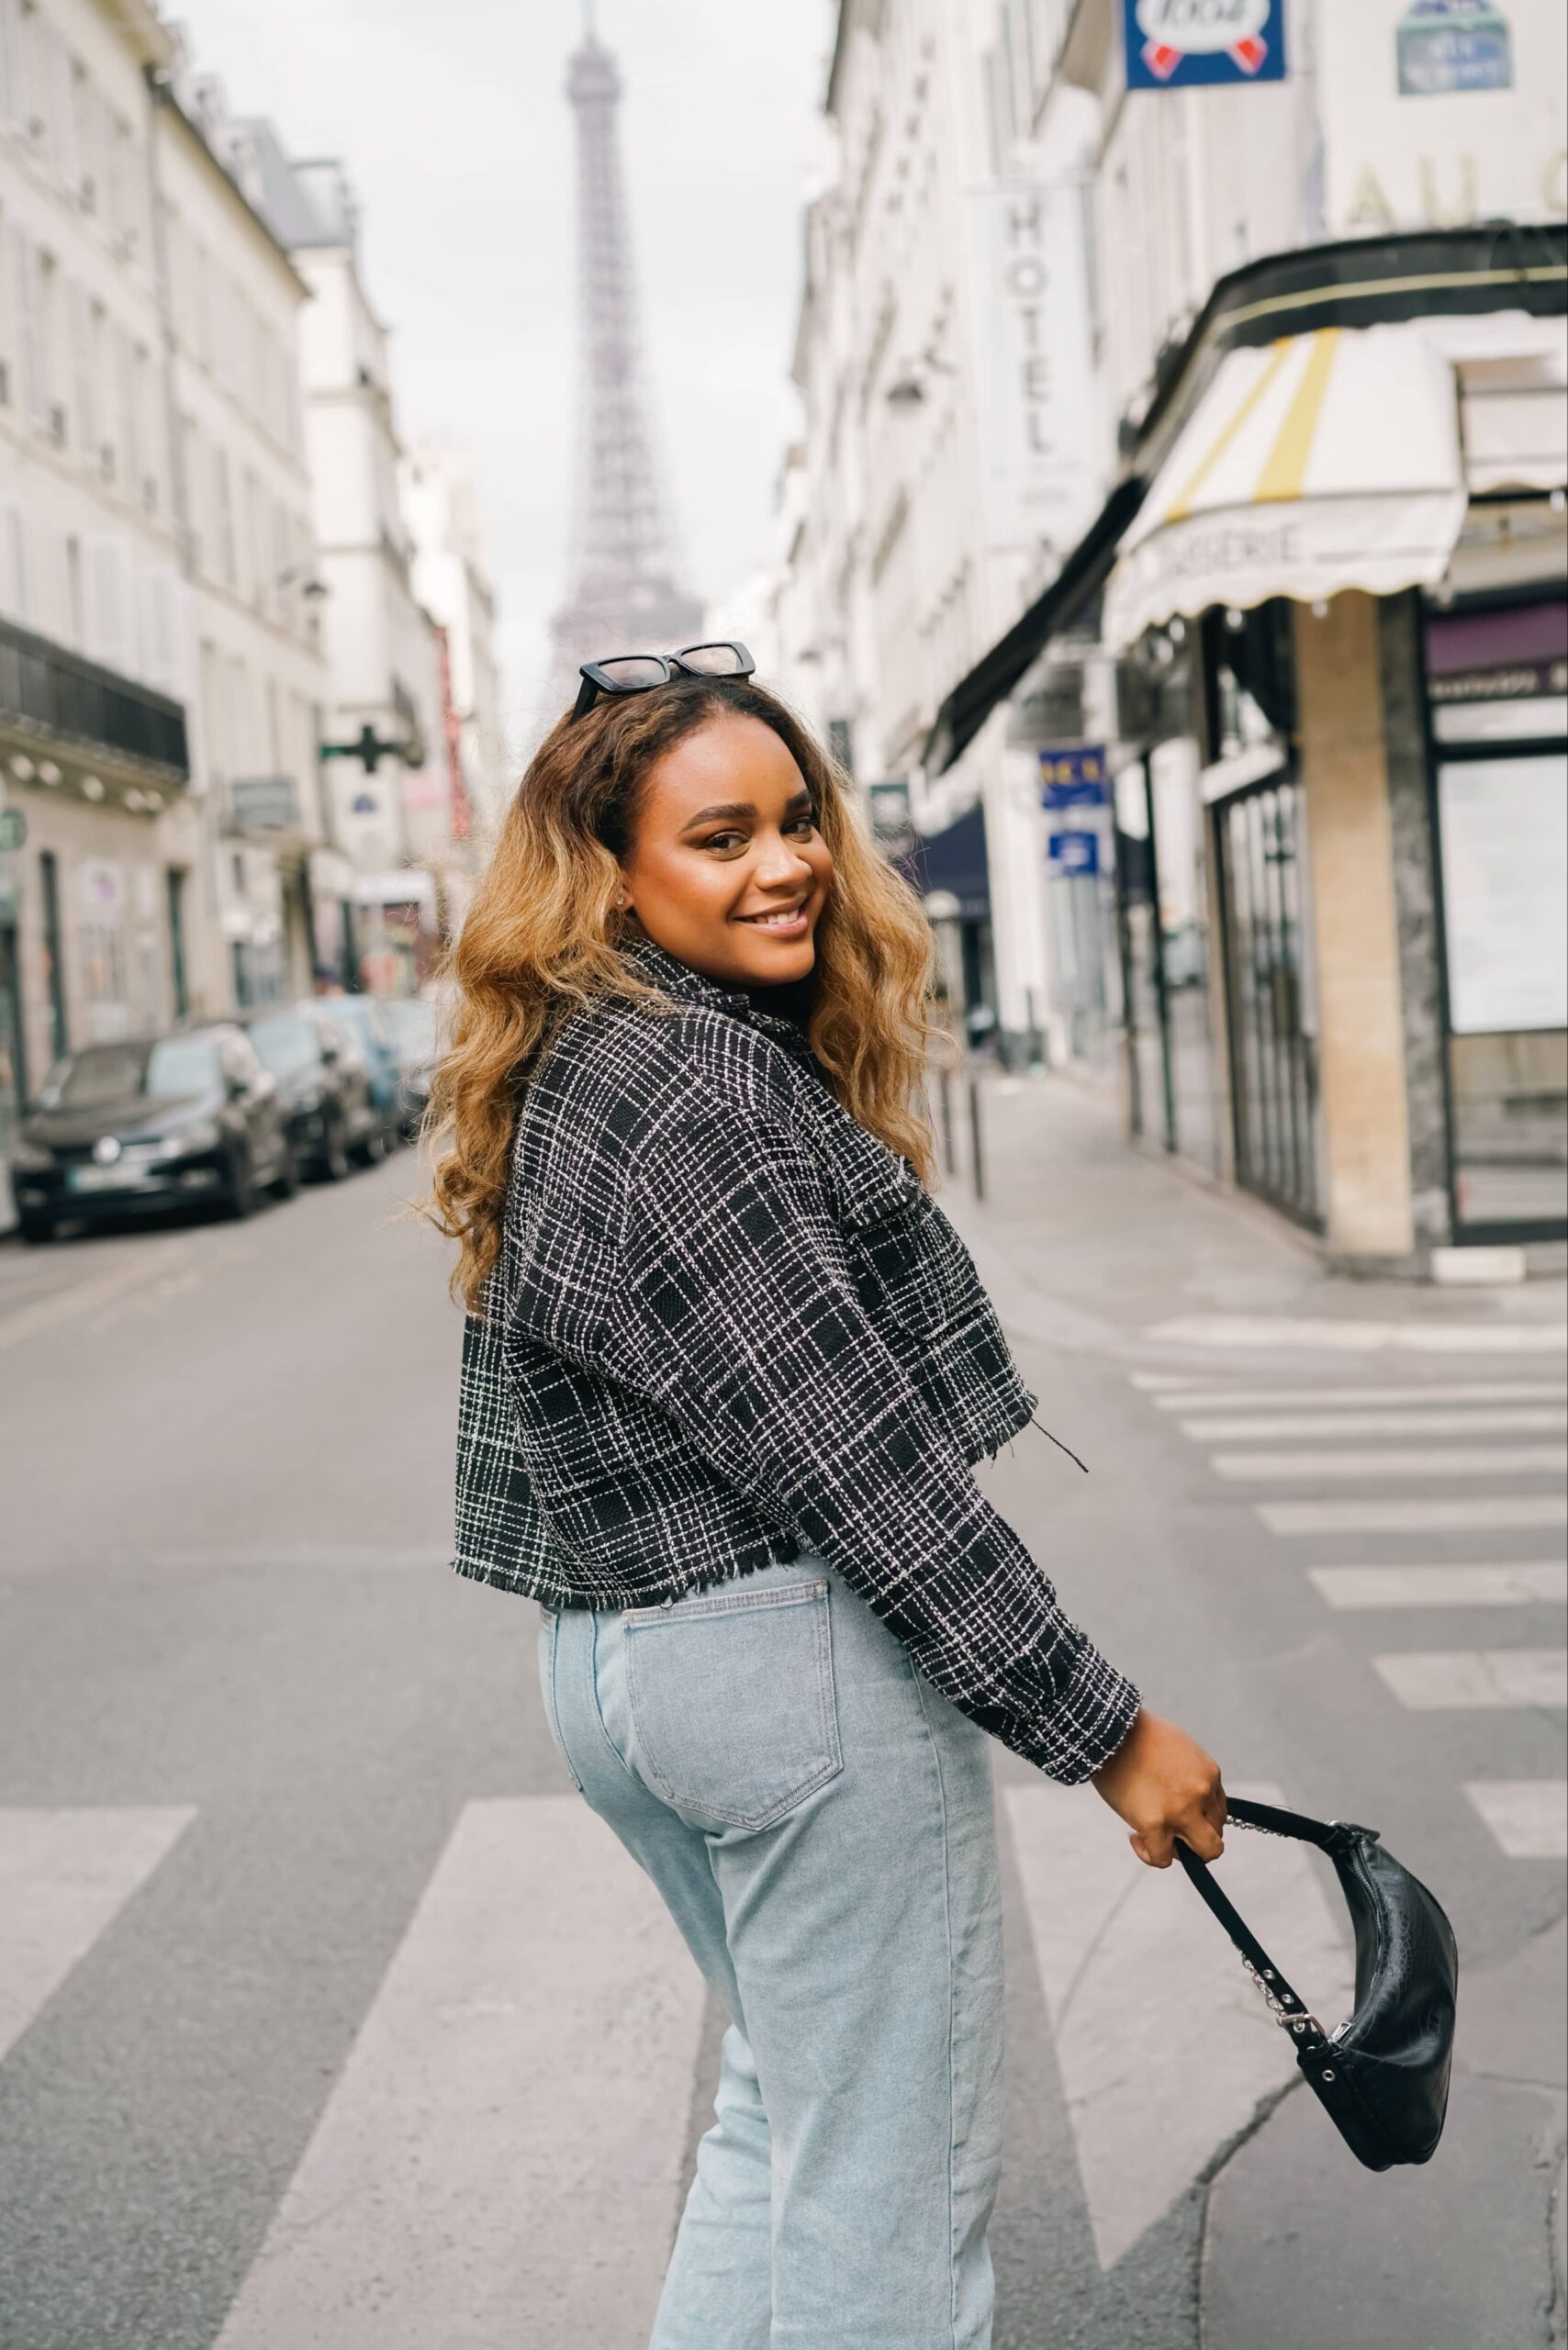
Who could encapsulate the awe I felt when I first laid eyes on the Eiffel Tower?
Or the hilarity of me navigating Times Square for the first time?
It was all up to me, my camera, and a little gadget I’d soon come to know as my best friend—the selfie stick.
You see, being a solo traveler, you quickly learn that capturing great photos of yourself isn’t as simple as a point-and-shoot. I mean, you can always extend your arm and snap a quick selfie, but let’s be real, it’s not the most flattering angle and your arm only stretches so far.
No, to really take your travel self-documentation to the next level, you need a few tricks up your sleeve.
So, whether you’re wielding a fancy DSLR camera, your trusty iPhone camera, or just your cell phone, here are my best tips for getting not just good, but amazing photos of yourself while gallivanting the globe alone.
In this post, you'll find...
TL;DR: Key Takeaways
- Master Self-Photography Techniques: The art of self-photography is about more than just stretching out your arm for a selfie. Master techniques like the burst mode, rule of thirds, using reflective surfaces, and getting creative with angles to get stunning solo shots.
- Learn to Pose: Experiment with different poses and don’t be afraid to have fun with it. Use your environment, tell a story, and let your personality shine through.
- Gear Up: My favorite accessories for solo travel photos include the GoPro Hero 10 for action shots, iPhone 13 for quick, high-quality photos, a sturdy tripod for stability, and a Bluetooth remote for easy clicking.
- Timing is Crucial: The golden hour, blue hour, midday sun, and night offer different lighting conditions that can significantly impact your photos. Experiment with these times to see what works best for your style.
- Hire a Professional: If you’re looking for some high-quality photos or just want to take a break from setting up the tripod, consider hiring a professional photographer. They can help you get beautiful shots and make the process fun and stress-free.
10 Essential Tips for Taking Epic Solo Travel Photos
1. Mastering the Art of the Selfie
Here’s the thing about selfies—they’re not just an act of extending your arm anymore. No siree! It’s all about that selfie stick and remote shutter. It’s like having an extra arm, but better.
I personally recommend this portable extendable selfie stick, it’s my go-to for quick photos and an easy way to get the right angle. It extends out 40 inches to get cool angles that I can’t reach with just my arms.
And the remote shutter is a game-changer; it’s like having a personal photographer at the tip of your fingers.
2. Using Reflections and Shadows
Reflective surfaces are your best friend. Think mirrors, windows, puddles, even a pair of sunglasses. They offer a different perspective and can add a whole new level of depth to your photos.
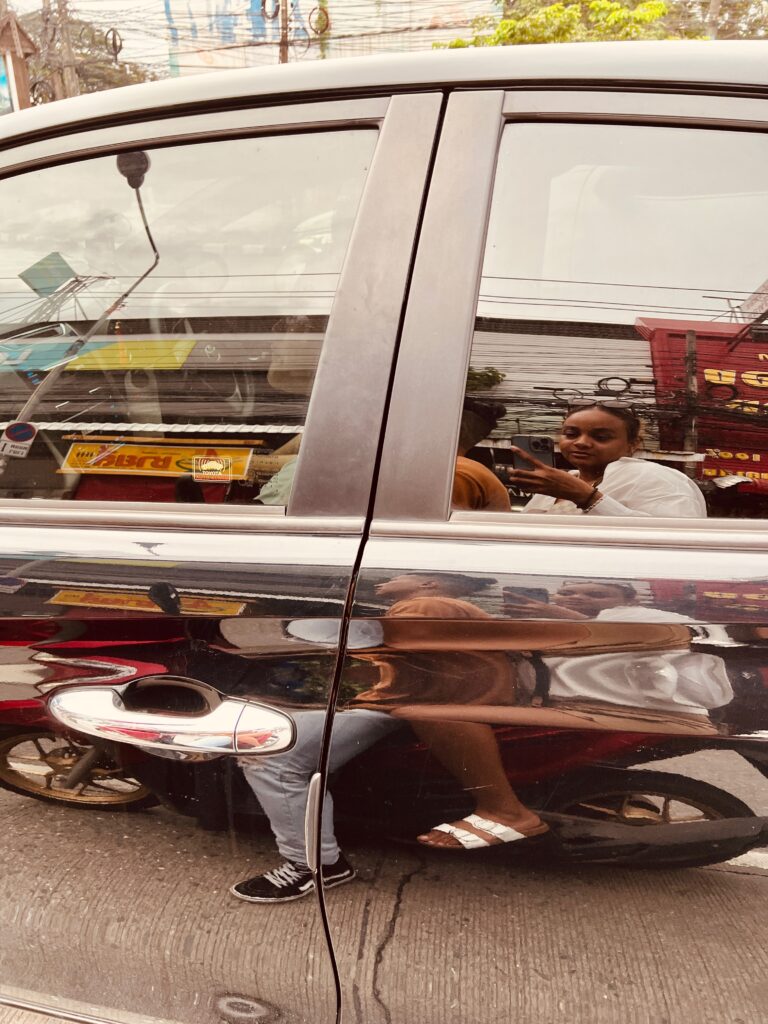
Plus, it’s always fun to spot your reflection in unexpected places.
3. Utilizing the Environment
Why not use a tree branch, a bench, or a rock as your tripod? You’d be surprised at how a little creativity goes a long way. And don’t forget about the environment in your photos. That random walking tour guide? Ask him to snap a photo. Met some new people? Exchange photo-taking favors.
4. Exploring Different Angles
The easiest way to make your photos stand out is to experiment with different angles.
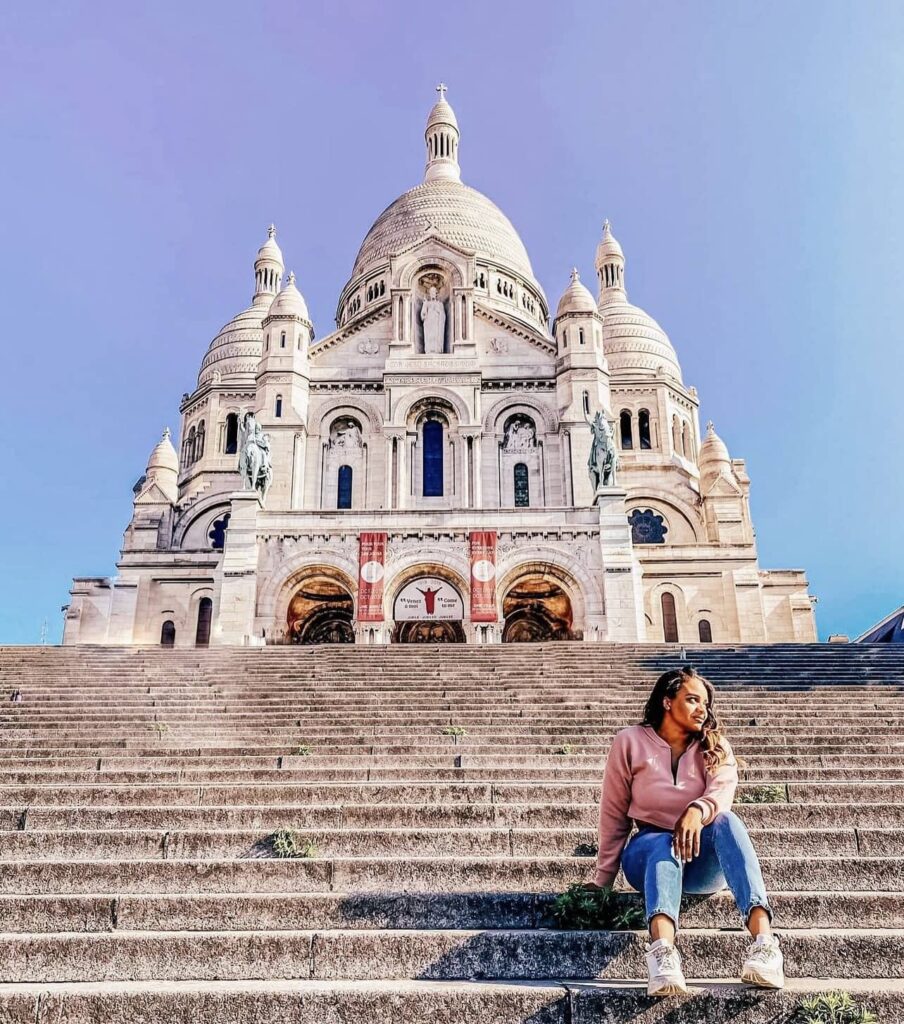
Try a low-angle shot for an imposing, powerful vibe. Or, climb a flight of stairs and shoot from above for a bird’s-eye view.
5. Focusing on Details
Close-up shots are a great way to capture the small details that tell a story. Whether it’s the lace on your dress, the book you’re reading, or the steaming cup of coffee in your hand, these details add a personal touch that makes the photos uniquely yours.
6. Capturing Candid Moments
The best photos often happen in the blink of an eye, when you’re lost in thought, or laughing at your own goofy missteps. To capture these moments, I swear by the ‘burst mode’ or ‘continuous mode’ on my camera. It takes multiple shots in rapid succession, so you’re sure to get a few gems in there.
I love using the app LensBuddy to take my photos when I’m traveling solo. You can set the app up to take a photo every minute, 30 seconds, 10 seconds, or even every 0.25 second! This is perfect for getting those candid photos when you’re on your own.
7. Playing with Light and Shadows
Ever heard of the golden hour? It’s that magical time just after sunrise or before sunset, when the light is soft and, well, golden.
It can make your photos look downright dreamy. But don’t be afraid of harsh sunlight or deep shadows either – they can add drama and contrast to your shots.
I learned this the hard way when I woke up at an ungodly hour to photograph the sunrise over the Arc de Triomphe.
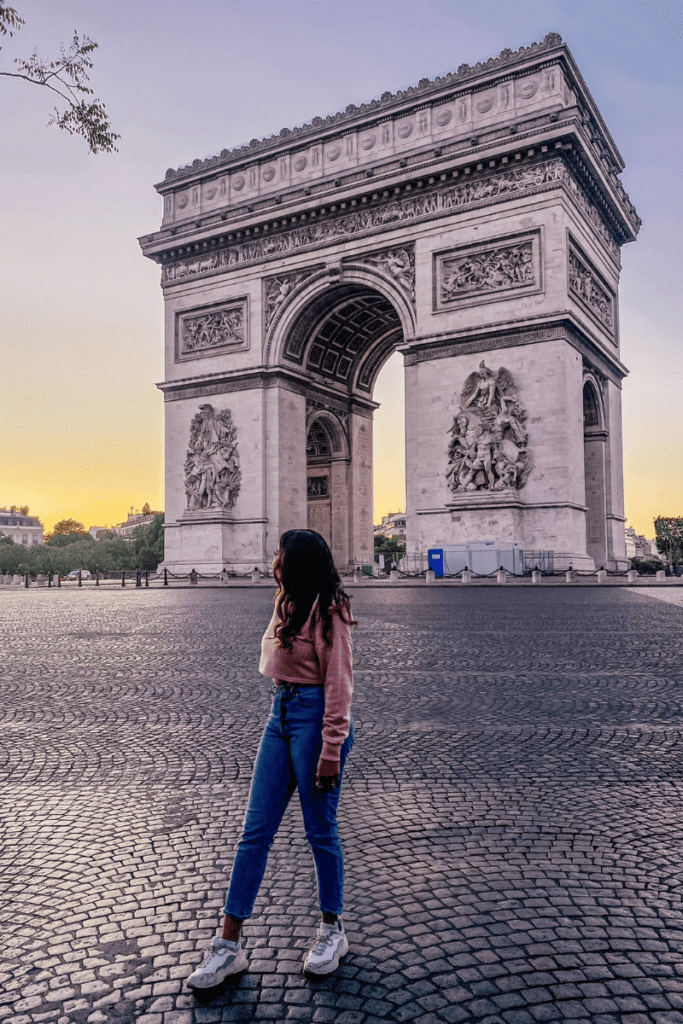
The sleep deprivation was worth it – the photos turned out epic!
8. Implementing the Rule of Thirds
This is a classic photography principle that can instantly improve your shots. Imagine dividing your frame into a 3×3 grid and placing the main subject at the intersections. This often creates a more balanced and visually interesting shot. It’s a simple trick, but incredibly effective. I’ve used it everywhere, from the bustling streets of Paris to the serene landscapes of Zanzibar.
9. Trying Out Different Perspectives
Don’t just stick to eye-level shots. Get low, climb up high, lean out (safely, of course), get close, then get even closer. This will add variety to your photos and make your photo album a lot more interesting. A good picture I took during my Morocco trip was when I held the camera high above my head, capturing the bustling street market below in a way that a normal shot couldn’t have done justice to.
10. Embracing Your Authentic Self
Let’s be real, we all want to look good in our photos. But don’t let that stop you from being you. Got a signature pose or a goofy smile? Flaunt it! Your photos should reflect who you are, not some picture-perfect version of you.
Some of my best shots have been when I’m muddy from a hike, wind-swept from a boat ride, or dripping with sweat in the middle of a desert. They’re not the most glamorous, but they’re real, and they’re me.
Whew! Those were some nuggets of wisdom right there, weren’t they? Now, let’s dive into the world of photography gear, because the right tools can make a world of difference in your solo travel photos.
And don’t worry, you won’t need to lug around a professional camera (unless you want to, of course).
Best Gear for Solo Travel Photography
In my travels, I’ve found that the right gear doesn’t necessarily mean the most expensive or professional. It’s about what works for you and fits your style, needs, and budget.
So, here’s a look at some of my favorites:
Smartphones
Don’t underestimate the power of your phone camera – It’s handy, lightweight, and perfect for quick shots.
My iPhone 13 has been my trusty companion on many a trip. It’s what I use to take most of my travel photos because of the wide-angle lens and the 4K camera quality.
And let’s be real, it’s just way more convenient than lugging a camera around.
Tripods
A solo traveler’s best friend, indeed. I recommend the Manfrotto Compact Action Tripod for those looking for a great tripod for a DSLR camera.
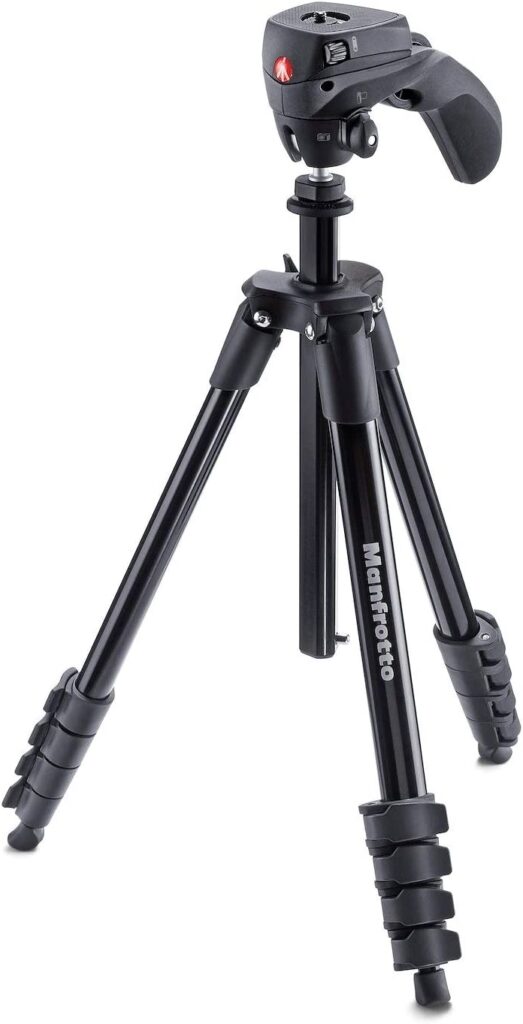
It’s sturdy, portable, and offers great value for money.
For a more flexible option, the Joby GorillaPod is excellent. You can wrap it around a tree branch, a railing, or just about anything.
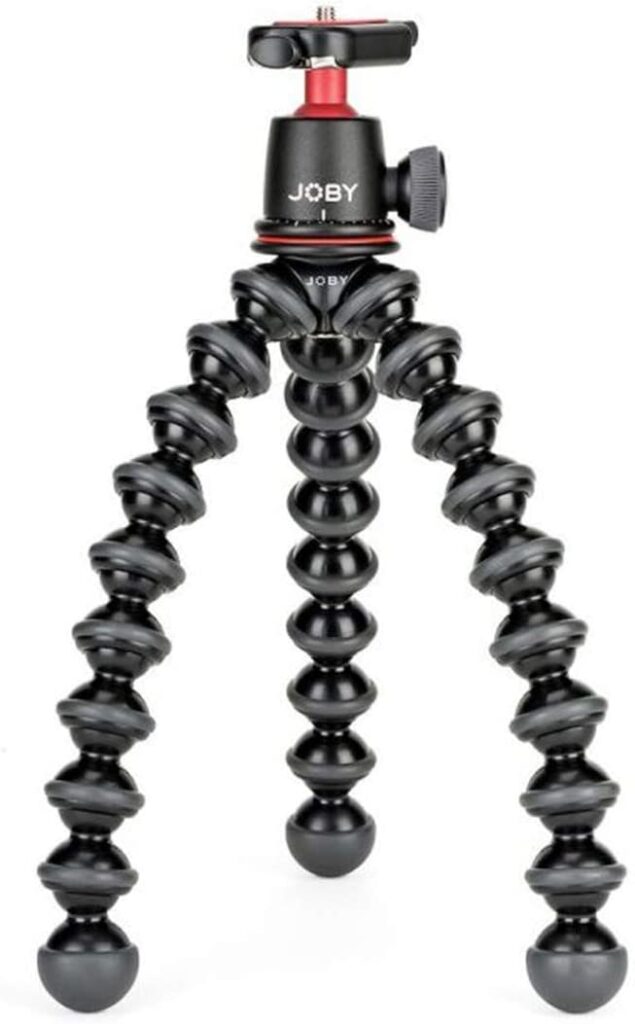
I love using this one for getting photos in unique angles and when I don’t want my photos to look like they were obviously taken by me.
I love it!
And when it comes to the best tripods for iPhones, the Ubeezie extendable tripod stand is my go-to.
It extends out 62″ inches and can hold your phone vertically or horizontally, depending on your preference. It’s lightweight and portable but still strong and secure enough to hold your phone.
I don’t ever go on a trip without it!
Camera Lens
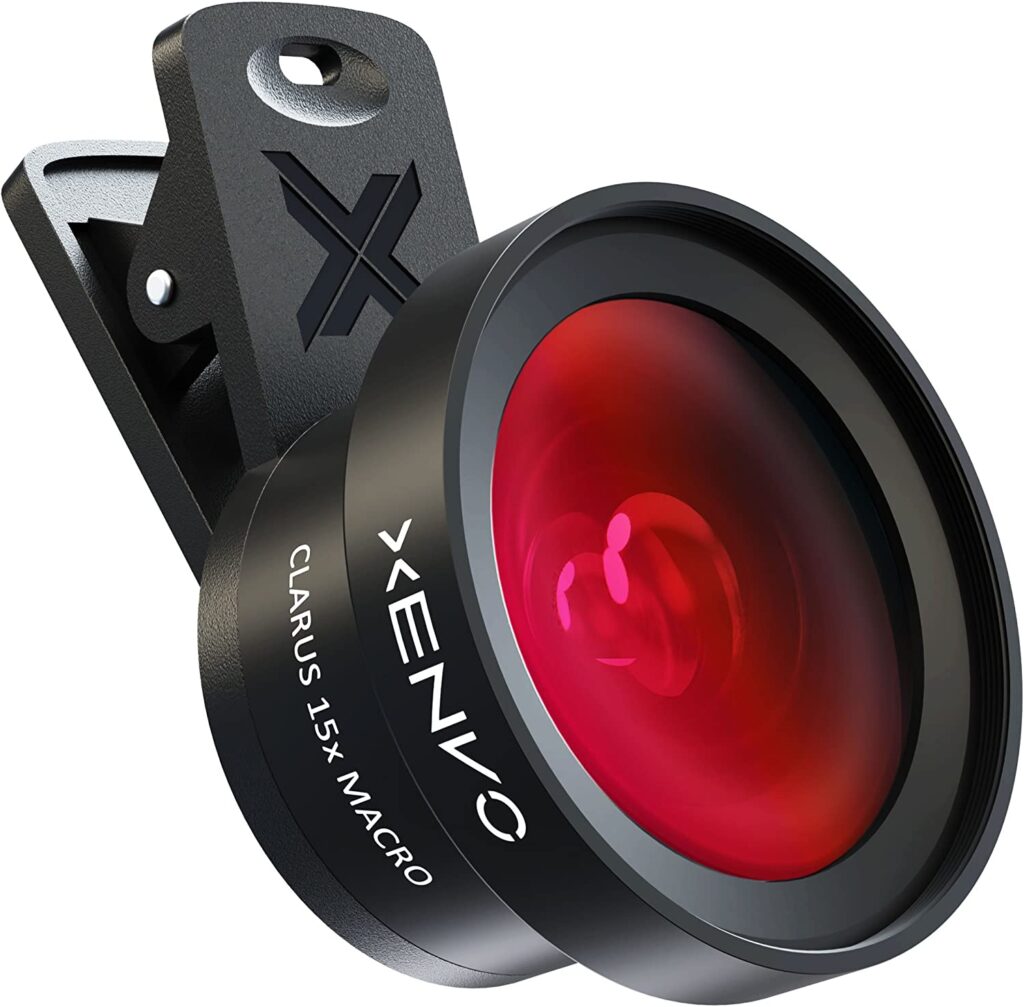
If you’re using a smartphone that doesn’t have a wide-angle lens built in, consider investing in a good-quality wide-angle lens.
It can drastically improve your shots, especially landscapes and architectural photos. The Xenvo Pro Wide Lens is a popular choice that’ll give your photos a unique look.
For an even more unique look to your travel shots, consider using a fish eye lens like this one and testing out some photos from a different perspective!
Remote Shutter
As I mentioned before, a remote shutter is a game-changer for solo travelers. It allows you to click photos from a distance, making it much easier to get that perfect shot.
Check out the CamKix Bluetooth Camera Shutter – it makes it insanely easy to get photos of yourself while traveling alone.
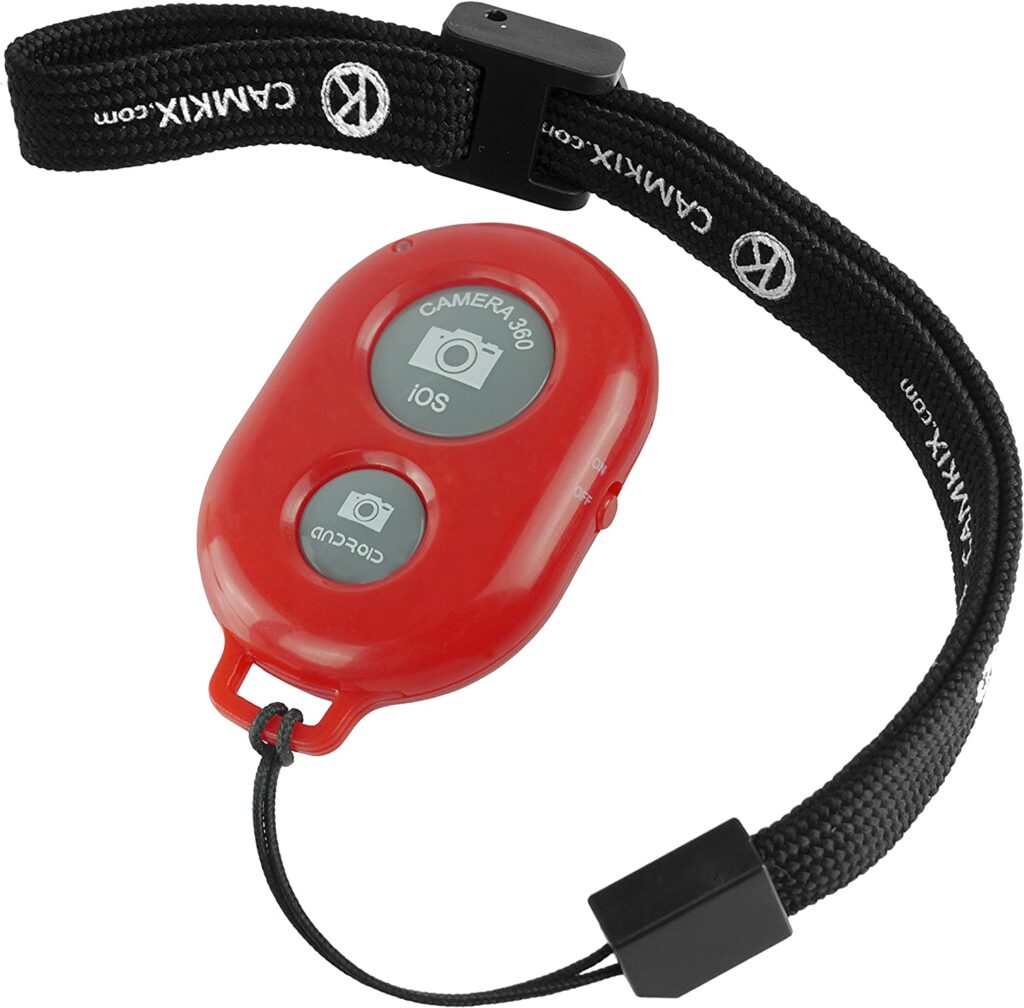
Just connect the remote to your phone via Bluetooth, set up your phone or camera on your tripod, get in position, and click away! It’s really small and easy to hide in your hand so it doesn’t stick out in your photos.
GoPro
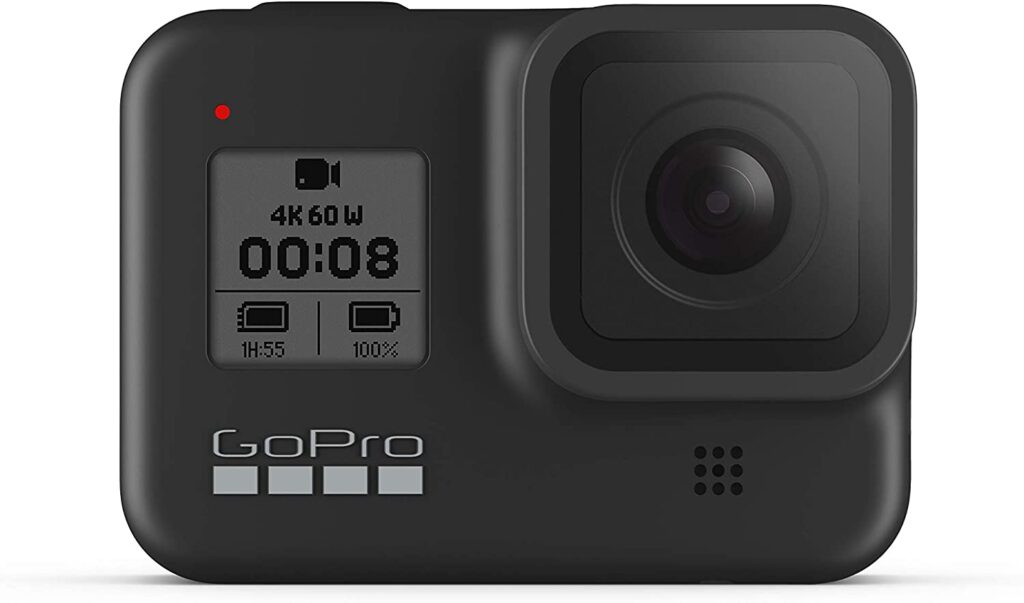
For action shots, underwater photos, or just a different perspective, a GoPro is a fantastic investment.
I love to use the burst mode when traveling solo, which allows the camera to take multiple photos every couple of seconds.
I also sometimes will take a video, and then just take screenshots from the video, but it tends to be a little lower in quality when I do it that way.
I’ve used mine to capture some awesome snorkeling, hiking, and jetskiing adventures.
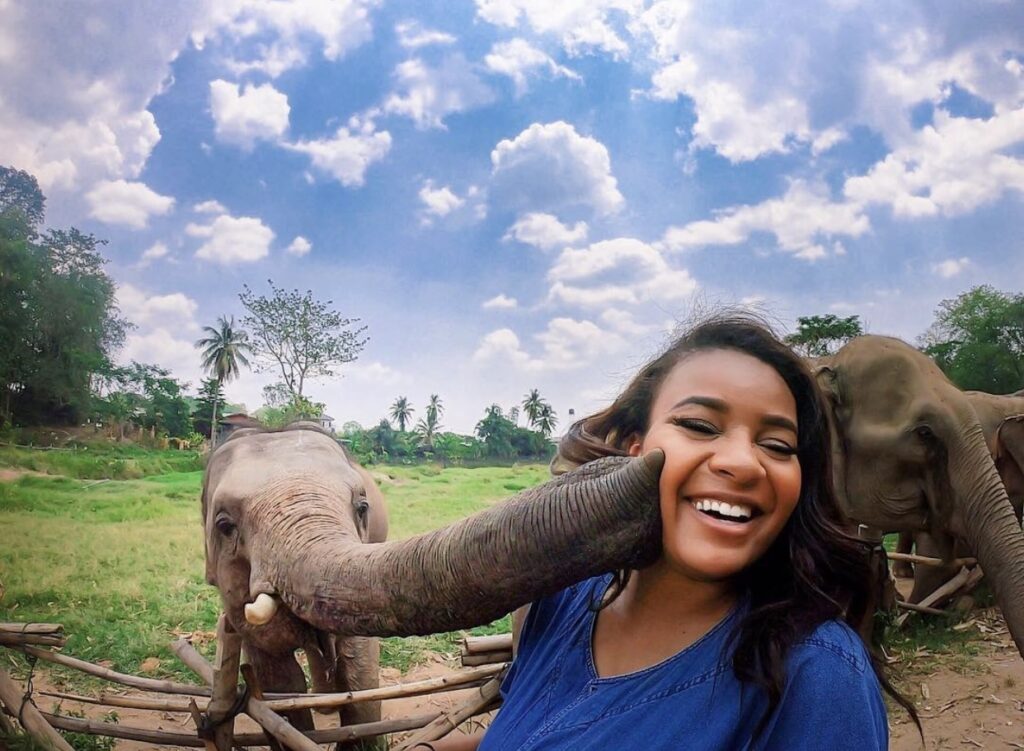
And even this photo of me getting smooched by an elephant.
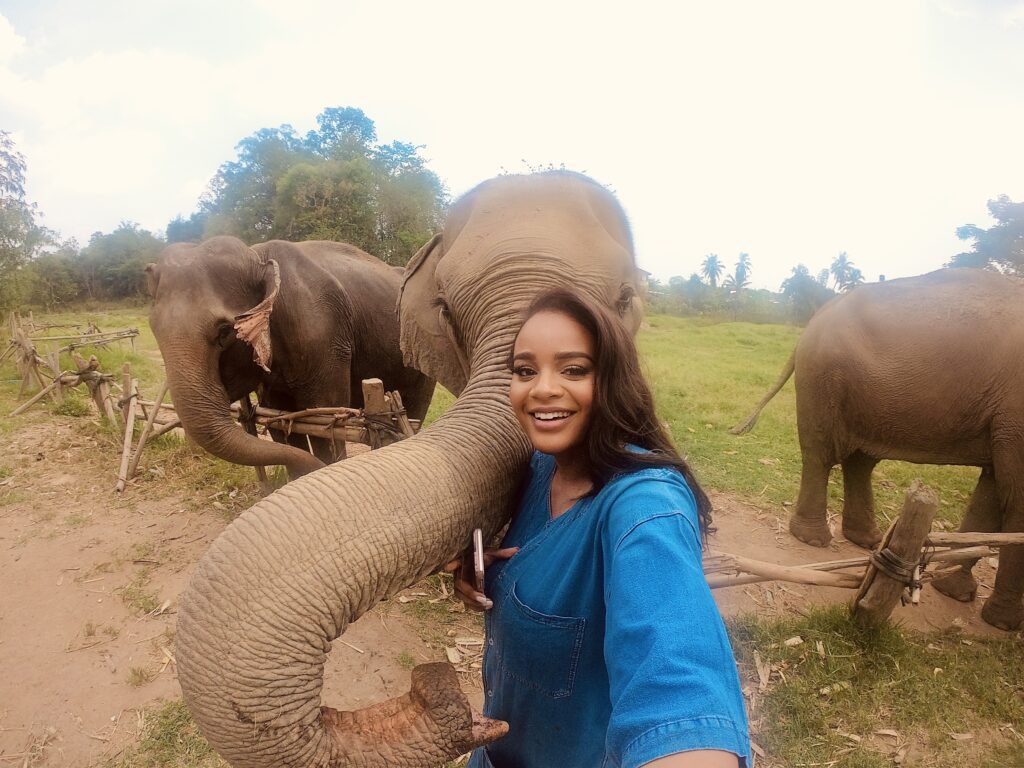
These were taken on the GoPro Hero 8, but I currently use the GoPro Hero 10. The 10 shoots amazing quality photos/and videos and I’m super impressed with the way my photos come out every time.
It’s great for capturing candid moments like the one with the elephant!
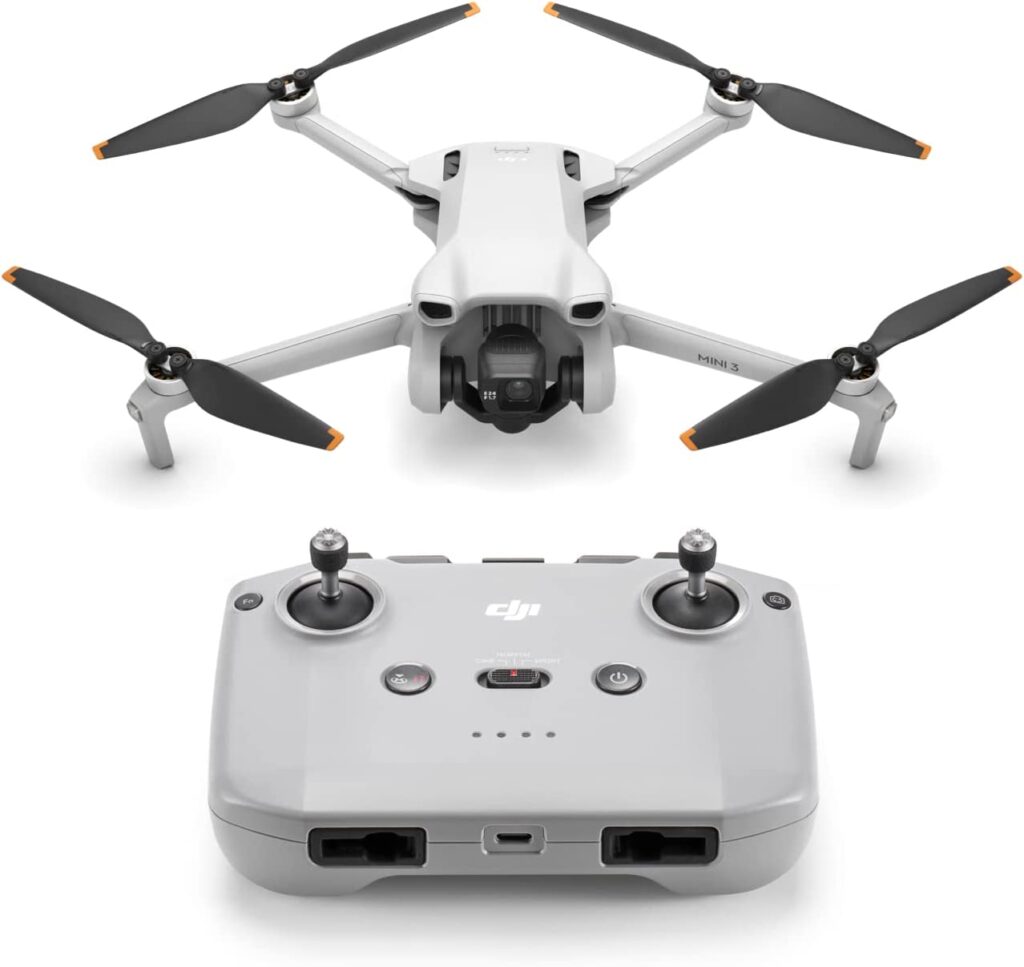
Drone
If your budget allows, a drone can take your photography to new heights (literally!). It can capture stunning aerial shots and videos. The DJI Mini 3 is a great choice for beginners.
Remember, while good gear can help, the best photos come from observation, experimentation, and, most importantly, enjoying the moment.
Sometimes, you’ll get the best shots when you put the camera away and just soak in the view.
And if all else fails, there’s always the option of hiring a professional photographer, but we’ll talk about that a bit later in the article.
When is the Best Time to Take Travel Photos?
Timing can play a crucial role in photography. The right time can transform an ordinary scene into something truly extraordinary.
Golden Hour: As I mentioned earlier, the golden hour (the first hour after sunrise and the last hour before sunset) is a fantastic time for photography. The light is soft, warm, and simply magical. It can add a dreamy quality to your photos and make them stand out. Remember my shot of the Taj Mahal at dawn? That’s golden hour magic for you!
Blue Hour: Ever heard of the blue hour? It’s the brief period just before sunrise and after sunset when the sky has a deep blue hue. It’s a great time to capture cityscapes and landscapes. One of my favorite shots is of Times Square during the blue hour, with the vibrant city lights set against the deep blue sky.
Midday: While harsh sunlight can create strong shadows and overexposed shots, don’t rule out midday photography altogether. It can be a good time for capturing vivid colors, and you can use the strong shadows creatively for some unique shots. On my first trip to Greece, I took some striking photos of the white buildings against the bright blue sky in the midday sun.
Night: Night photography can be challenging but also incredibly rewarding. City lights, stars, or even the moon can create some stunning shots. One of my most loved photos is a night shot of the Eiffel Tower sparkling against the dark sky.
So, there you have it – the best times to take photos. But remember, rules are meant to be broken. If you see a great shot, take it, no matter what the time is!
Avoiding Crowds and Keeping Your Gear Safe
Taking photos without a sea of people in the background can feel like an epic quest, especially in popular tourist spots. But hey, who doesn’t love a good challenge?
My favorite way to avoid crowds is to play the early bird. I’m talking sunrise early. Not only will you get beautiful lighting (hello golden hour), but most tourists are still snoozing away.
Plus, there’s something magical about having famous landmarks all to yourself.
It’s worth the early wake-up call, trust me!
Now, let’s talk safety. We all love our gear, and the last thing we want is for it to end up in the wrong hands. When you’re setting up your shot, always keep your gear within sight.
If you’re using a tripod, stay close, especially in busy areas. I often wrap the strap of my camera or bag around the tripod leg. It’s not foolproof, but it does add an extra layer of security.
And remember, insurance isn’t just for expensive DSLRs. Even if you’re shooting with a phone, consider getting it insured. Peace of mind, my friends, it’s worth it!
Finally, always be aware of your surroundings. It’s easy to get caught up in the moment, but a quick scan of the area every now and then is a good habit to develop.
Hiring a Professional Photographer
When the thought of setting up your tripod for the umpteenth time is too much, or you just want some high-quality shots for a special occasion, hiring a professional photographer is a great option. Websites like Flytographer connect travelers with local photographers in hundreds of cities worldwide.
A professional photographer will know all the best spots, the right angles, and, most importantly, how to make you feel comfortable in front of the camera.
My photo shoot in Zanzibar was not only fun but also left me with some beautiful photos and great memories.
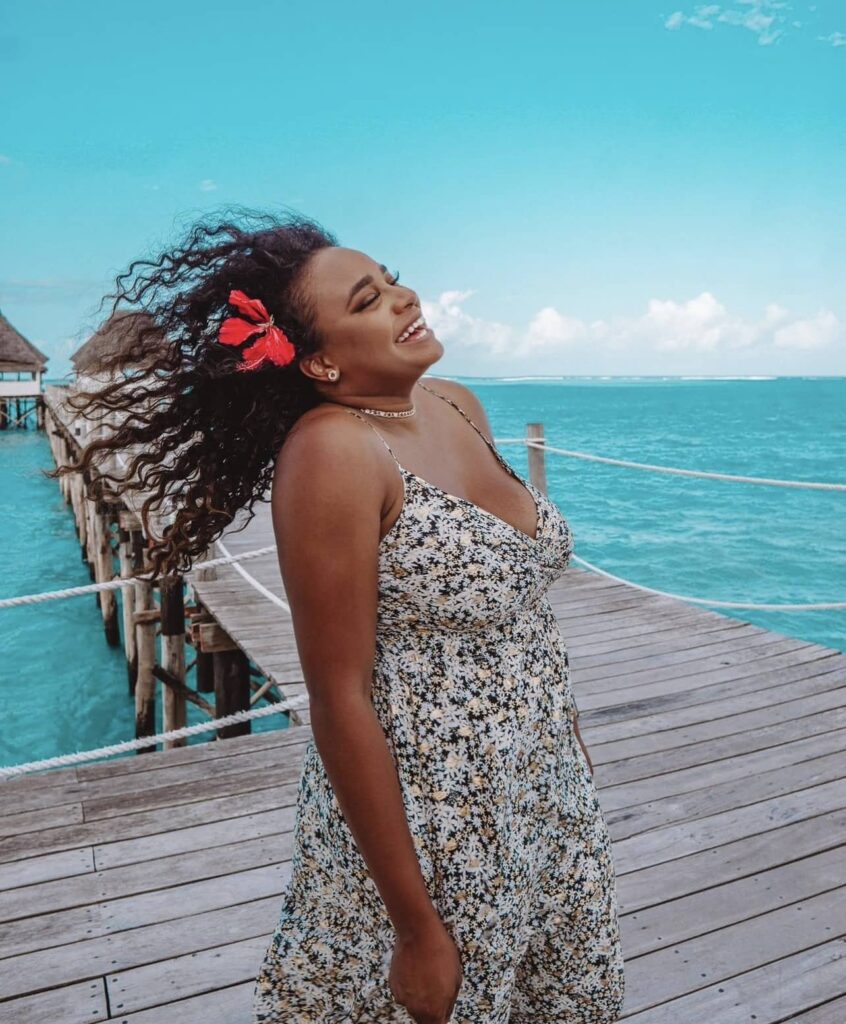
That’s a wrap, my fellow solo travelers! I hope these solo travel photography tips help you capture your travel memories beautifully. Remember, the most important thing is to enjoy the process. Happy snapping!
Hi, I’m Tiana – founder of and author here at Where Tiana Travels. I’m a 20-something with a love for all things travel, photography, and food. I have been living abroad for the past 5 years and solo traveling the globe in my free time. I created this blog to share my travel stories and inspire other women to go out and see the world. Read more about me here!