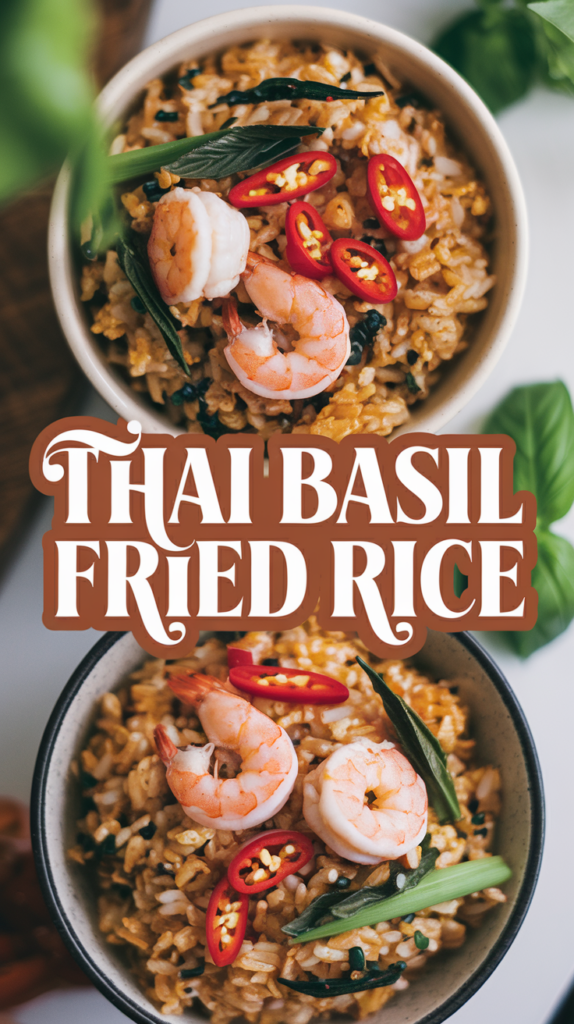
Picture this: a plate of warm, aromatic fried rice infused with the spicy-sweet aroma of Thai basil and balanced with just the right amount of heat, garlic, and umami goodness.
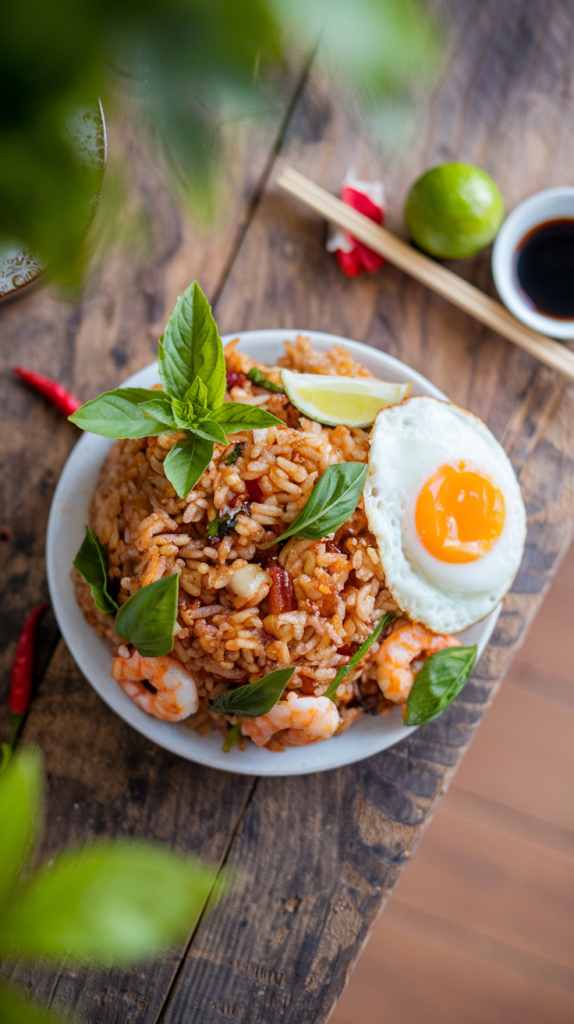
Thai Basil Fried Rice is one of those dishes that checks all the boxes—it’s quick, flavorful, comforting, and ridiculously easy to whip up.
Plus, it feels like a mini-vacation to Thailand every time you make it!
This classic Thai dish, also called “Khao Pad Kaprao,” is a perfect balance of spicy, savory, and slightly sweet flavors. It’s a go-to in Thai kitchens and street food stalls alike.
The hero ingredient? Thai basil—spicy, peppery, and a little bit magical. If you’ve never cooked with it, you’re in for a treat.
Let’s dive into the history and then straight to the kitchen!
In this post, you'll find...
A Brief History of Thai Basil Fried Rice
Thai Basil Fried Rice has roots in Thailand’s love for bold, balanced flavors and quick meals. It’s an offshoot of “Pad Kaprao,” a stir-fried dish traditionally made with minced meat, Thai basil, and chilies.
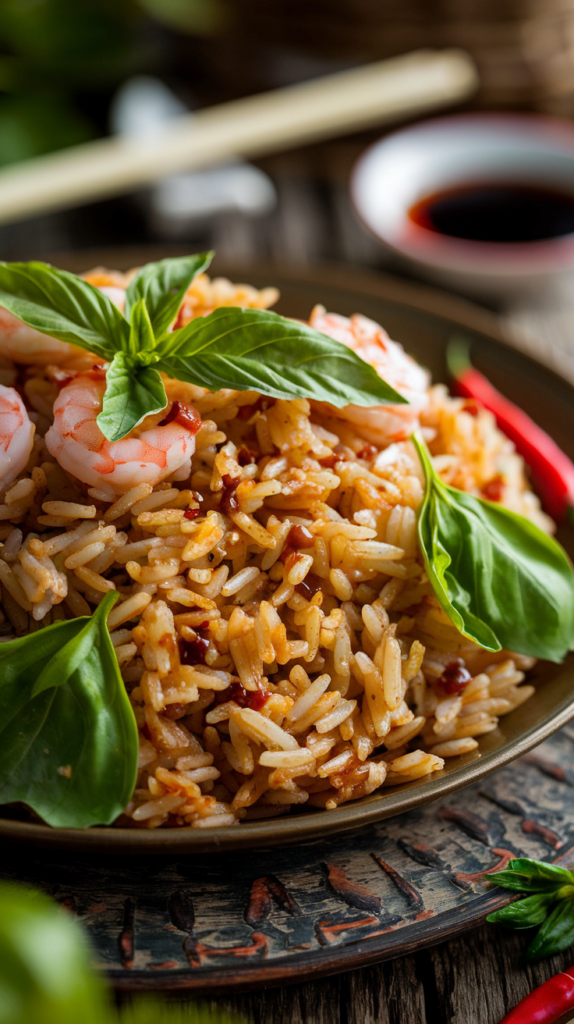
The dish was born out of the country’s street food culture, where speed and flavor reign supreme. Fried rice became the perfect vehicle for these ingredients, transforming it into a one-pan wonder beloved worldwide.
Interestingly, Thai basil isn’t just any basil—it’s a close cousin of the sweet basil you’re used to but packs a spicier, anise-like punch.
It’s a staple in Southeast Asian cuisine and has cultural significance too, often used in traditional medicine for its aromatic and digestive properties.
Ingredients You’ll Need
Here’s what you’ll need to create your very own Thai Basil Fried Rice masterpiece:
- 2 cups cooked jasmine rice (preferably a day old)
- 2 tablespoons vegetable oil (or any neutral cooking oil)
- 3 cloves garlic, minced
- 2 red Thai chilies, finely chopped (adjust to taste)
- 1 medium onion, sliced
- 1 cup mixed vegetables (optional; carrots, peas, or bell peppers work great)
- 1 cup protein of choice (shrimp, chicken, tofu, or beef)
- 2 tablespoons soy sauce
- 1 tablespoon oyster sauce
- 1 teaspoon fish sauce (optional but adds authenticity)
- 1 teaspoon sugar
- 1 large egg
- 1 cup Thai basil leaves
- Lime wedges (for serving)
Ingredient Breakdown
Jasmine Rice: The backbone of the dish. Day-old rice works best because it’s less sticky, making it easier to fry without clumping. Freshly cooked rice? Pop it in the fridge for 30 minutes before frying.
Vegetable Oil: Keeps things sizzling. A neutral oil like canola or sunflower lets the other flavors shine.
Garlic and Thai Chilies: These two are the flavor bomb duo, bringing a spicy, garlicky base to your fried rice. Adjust the chilies to suit your heat tolerance.
Onion and Mixed Veggies: These add crunch, color, and a touch of sweetness to balance the spice.
Protein: The beauty of this dish is its versatility—shrimp, chicken, tofu, or even just extra veggies will all shine.
Soy Sauce, Oyster Sauce, and Fish Sauce: The holy trinity of umami in Thai cooking. Soy sauce brings saltiness, oyster sauce adds depth, and fish sauce? It’s optional but gives a true Thai essence.
Sugar: A pinch of sweetness balances the savory and spicy notes.
Egg: Adds richness and texture to the fried rice.
Thai Basil: The star of the show. Its spicy, slightly sweet aroma is what makes this dish uniquely Thai. Regular basil won’t cut it here!
Lime Wedges: A squeeze of lime over the finished dish adds a burst of freshness.
How to Make Thai Basil Fried Rice
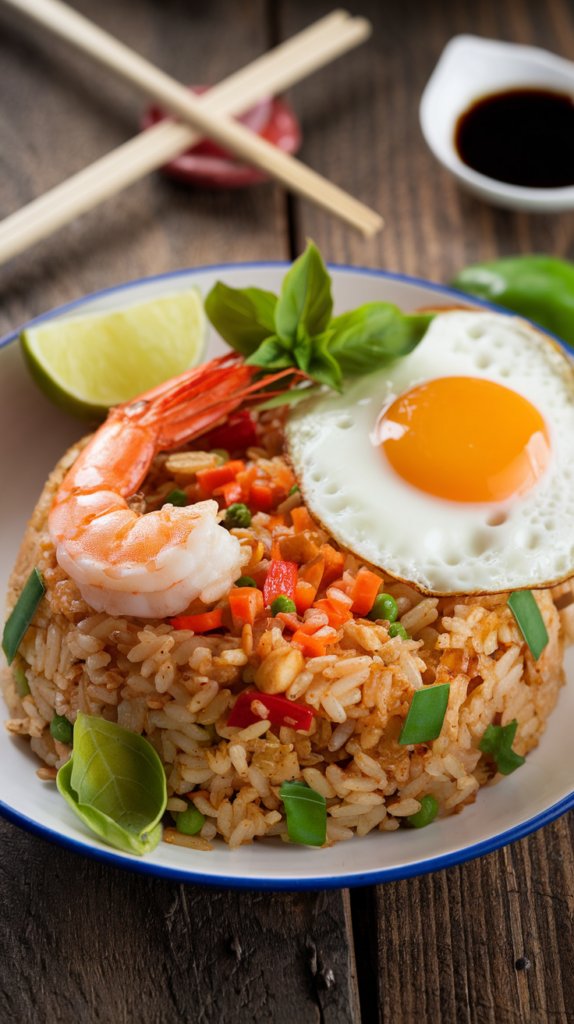
1. Prepare Your Ingredients
First, get everything ready. Thai Basil Fried Rice cooks quickly, so having all your ingredients chopped, measured, and within arm’s reach is essential. Make sure your rice is cold and clump-free—use your hands to break up any big chunks.
2. Heat Things Up
In a large wok or frying pan, heat the vegetable oil over medium-high heat. Woks are ideal because their shape helps distribute heat evenly, but a skillet works too.
3. Sauté Aromatics
Add the minced garlic and Thai chilies to the hot oil. Stir-fry for about 30 seconds until fragrant. Be careful not to burn the garlic—it should smell amazing but not turn brown.
4. Cook the Protein
Toss in your protein of choice—shrimp, chicken, tofu, or beef. Stir-fry until it’s cooked through. For shrimp, this takes about 2-3 minutes; for chicken or beef, 4-5 minutes. Remove and set aside.
5. Cook the Veggies
In the same pan, add your onion slices and mixed veggies. Stir-fry for 2-3 minutes until they’re slightly softened but still have a bit of crunch.
6. Add the Rice
Push the veggies to one side of the pan and add the cold jasmine rice. Spread it out in an even layer and let it cook for about 1 minute to heat through. Then, start mixing it with the veggies.
7. Season the Rice
Pour in the soy sauce, oyster sauce, fish sauce (if using), and sugar. Stir everything together so the rice is evenly coated in the savory-sweet goodness. Taste and adjust the seasoning if needed—every brand of sauce is slightly different.
8. Scramble the Egg
Push the rice to one side of the pan and crack an egg into the empty space. Let it cook for a few seconds, then scramble it with your spatula. Once it’s mostly cooked, mix it into the rice.
9. Add Thai Basil
Finally, toss in the Thai basil leaves. Stir-fry for just 30 seconds to 1 minute—enough for the leaves to wilt and release their amazing aroma. Don’t overcook them; they’re delicate and meant to be added at the end.
10. Serve and Enjoy
Plate your Thai Basil Fried Rice and serve it hot, garnished with lime wedges. Encourage everyone to squeeze some lime juice over the top—it brightens up the flavors beautifully. If you’re feeling extra fancy, you can top it with a fried egg for a golden, crispy edge.
Tips for Success
- The Right Rice: Day-old rice is non-negotiable for perfect fried rice. Fresh rice is too moist and will clump.
- Control the Heat: Keep your heat medium-high to get that smoky “wok hei” flavor without burning anything.
- Customize the Protein: Feel free to experiment with different proteins or even keep it vegetarian.
- Don’t Skip the Thai Basil: Regular basil isn’t a good substitute—it lacks the spicy kick and anise-like flavor that defines this dish.
Thai Basil Fried Rice Recipe
Thai Basil Fried Rice
Ingredients
- 2 cups cooked jasmine rice day-old preferred
- 2 tbsp vegetable oil
- 3 cloves garlic minced
- 2 red Thai chilies finely chopped (adjust to taste)
- 1 medium onion sliced
- 1 cup mixed vegetables carrots, peas, or bell peppers
- 1 cup protein of choice shrimp, chicken, tofu, or beef
- 2 tbsp soy sauce
- 1 tbsp oyster sauce
- 1 tsp fish sauce optional
- 1 tsp sugar
- 1 large egg
- 1 cup Thai basil leaves
- Lime wedges for serving
Instructions
- Break up the cooked rice to prevent clumps.
- Chop garlic, chilies, onion, and vegetables.
- Heat 2 tbsp vegetable oil in a wok or large skillet over medium-high heat.
- Add minced garlic and chopped chilies. Stir-fry for 30 seconds until fragrant.
- Add your protein of choice and cook until fully done (2-5 minutes depending on the protein). Remove and set aside.
- Add onions and mixed vegetables to the pan. Stir-fry for 2-3 minutes until softened but still crisp.
- Push veggies aside and add the rice. Spread it out evenly and let it fry for 1 minute before mixing it with the veggies.
- Pour in soy sauce, oyster sauce, fish sauce (if using), and sugar. Stir to combine and coat the rice.
- Push the rice to one side and crack an egg into the empty space. Scramble it, then mix it into the rice.
- Toss in Thai basil leaves. Stir-fry for 30 seconds until wilted and aromatic.
- Plate your fried rice and serve with lime wedges for a fresh, tangy finish.
- Enjoy!
Pin this post for later!
Hi, I’m Tiana – founder of and author here at Where Tiana Travels. I’m a 20-something with a love for all things travel, photography, and food. I have been living abroad for the past 5 years and solo traveling the globe in my free time. I created this blog to share my travel stories and inspire other women to go out and see the world. Read more about me here!

